
Registration and provisioning
Register an ISP workspace
Start at the Centipid Billing account creation page. The ISP registration wizard creates both the owner account and the ISP workspace. Registration is a multi-step operation: email verification happens first, the company details are validated second, and workspace provisioning continues in the background after the account is accepted.
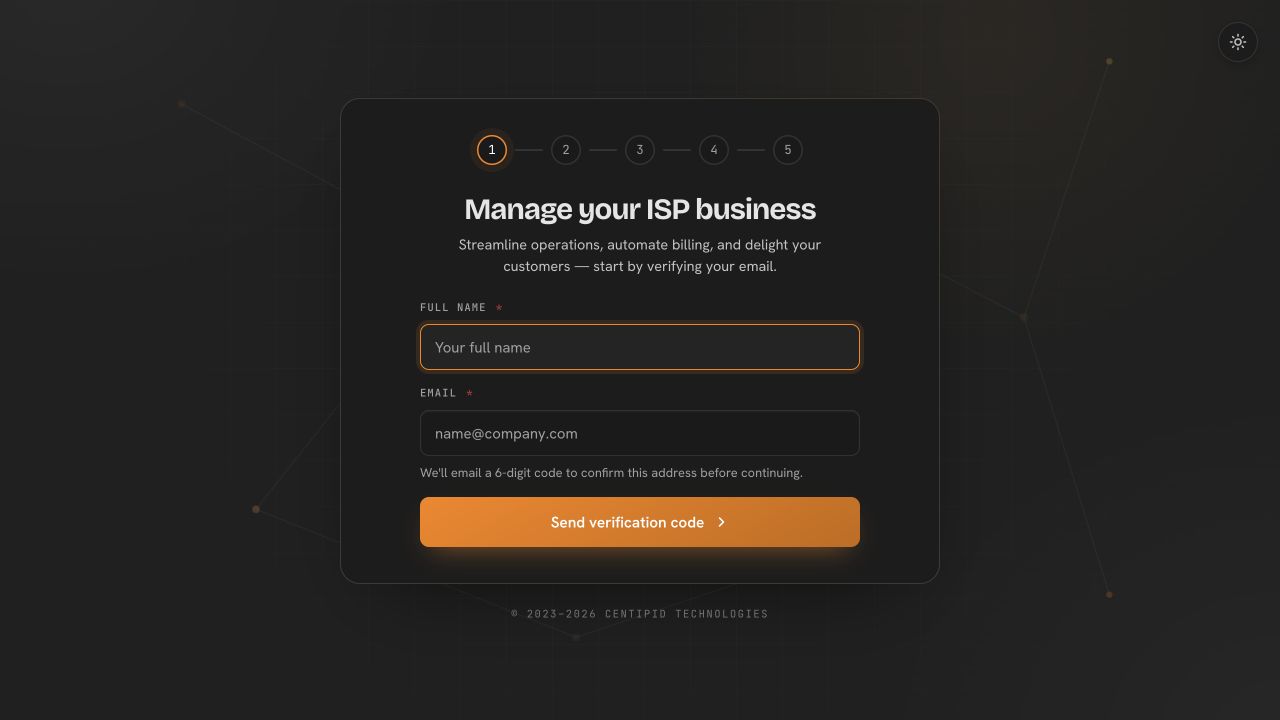
Registration inputs
| Input | Requirement | Notes |
|---|---|---|
| Name | Required by the registration wizard | Use the account owner’s real working name. |
| Required, valid email, maximum 191 characters | It must be verified and cannot already be an administrator email. | |
| Six-digit code | Required | Valid for 10 minutes. Resend is rate-limited for 60 seconds. |
| Company | Required, maximum 191 characters | Becomes the basis of the workspace slug; reserved or existing names are rejected. |
| Country | Required | Determines available timezone/currency choices and can affect product options. |
| Timezone | Required, valid timezone | Single-option countries may be filled automatically. |
| Currency | Required, three-letter code | Confirm it before creating billing records. |
| Phone | Required, must contain digits | The selected country can prefill the dialling prefix. |
| Password and confirmation | Required | Use a unique password; the form displays the current password rules. |
| Terms acceptance | Required | Registration cannot continue without acceptance. |
| How you heard about us | Optional | Referral is assigned automatically when a valid referral link is used. |
Complete the wizard
Request email verification
Open the account creation page, enter the owner name and email, and check the spelling before requesting the code. The application normalizes the email address and sends the OTP asynchronously.
Verify the code
Enter all six digits. The verified-email token is valid for 30 minutes. If you edit the email after verification, the token is discarded and the new address must be verified.
Choose the company identity
Enter the ISP/company name. The system checks the derived workspace slug. When the name is already taken, choose one of the offered alternatives rather than repeatedly submitting the same name.
Confirm country settings
Select the country, then confirm timezone, currency, and phone prefix. Automatic values are conveniences, not substitutes for review.
Submit and monitor provisioning
Submit once and continue to the provisioning-progress page. The workspace is not ready merely because the account record was accepted; wait for provisioning to finish before signing into the workspace URL.
Referral links
A registration URL can include a referral code. A valid code associates the new account with the referral automatically. If the registration page reports an invalid code, either obtain a correct link or explicitly continue without the referral. Do not manually type or guess codes.
Common registration failures
No verification email
- Confirm the email address on the form.
- Check spam and quarantine folders.
- Wait until the resend timer reaches zero.
- Request one new code.
- If delivery still fails, record the address, approximate time, and visible error for support—never include the OTP itself.
Code expired or rejected
Codes expire after 10 minutes and are replaced when a new code is issued. Return to the email step, request a new code, and enter only the latest one. A verified-email token can also expire if the details step remains open too long.
Company name unavailable
The workspace slug must be unique and cannot use a reserved platform name. Use an offered suggestion or a meaningful qualifier such as a location or business suffix. Changing capitalization alone may not create a distinct slug.
Email already has an account
Use the normal sign-in or password-recovery flow. Do not register a second ISP account to work around an existing owner account unless the business deliberately needs another workspace.
Provisioning appears stuck
Keep the progress URL available and refresh once after a reasonable wait. Do not resubmit the full registration form. Capture the provisioning token shown in the URL only when a trusted support channel requests it; treat it as sensitive account context.
After provisioning
Sign in using the workspace address presented by the provisioning flow, then follow Account security and the Quickstart.