Campaign types
- Image – Upload a static image ad.
- Video – Upload or link a video asset (mp4 or provider-supported format).
- Banner – Text-only banner across the top of the packages page.
Image placements and sizes
- Banner Position:
- Top – Full-width banner at the top.
- Bottom – Full-width banner at the bottom.
- Widget (left/right) – Small corner ad.
- Image Size options:
- Small: 300×250 (best for widget).
- Medium: 728×90 (horizontal banner).
- Large: 970×250 (wide banner).
Video
- Provide a video file in a portal-supported format (e.g., mp4). Keep duration and size reasonable for quick load on captive portals.
Banner (text)
- Enter the Banner Text (concise promo copy). Renders at the top of the packages page.
Create a campaign
- Go to Communication → Campaigns and click Create Campaign.
- Fill the form:
- Name – Campaign label shown in your list.
- Type – Choose how the ad renders:
- Image – Upload an image.
- Video – Provide a video (see provider/format guidance in your portal).
- Banner – Text-only banner at the top of the packages page.
- Image Size (image only) – Small (300×250), Medium (728×90), Large (970×250).
- Banner Position (image only) – Choose where users see the ad:
- Top – Full-width banner across the top of the portal.
- Bottom – Full-width banner across the bottom.
- Widget (left/right) – Small corner ad; users can click it to expand/enlarge.
- Image / Video – Upload the media file.
- Banner Text (banner only) – Text shown on the packages page.
- Start Date / End Date – When the campaign is shown.
- Click Create.
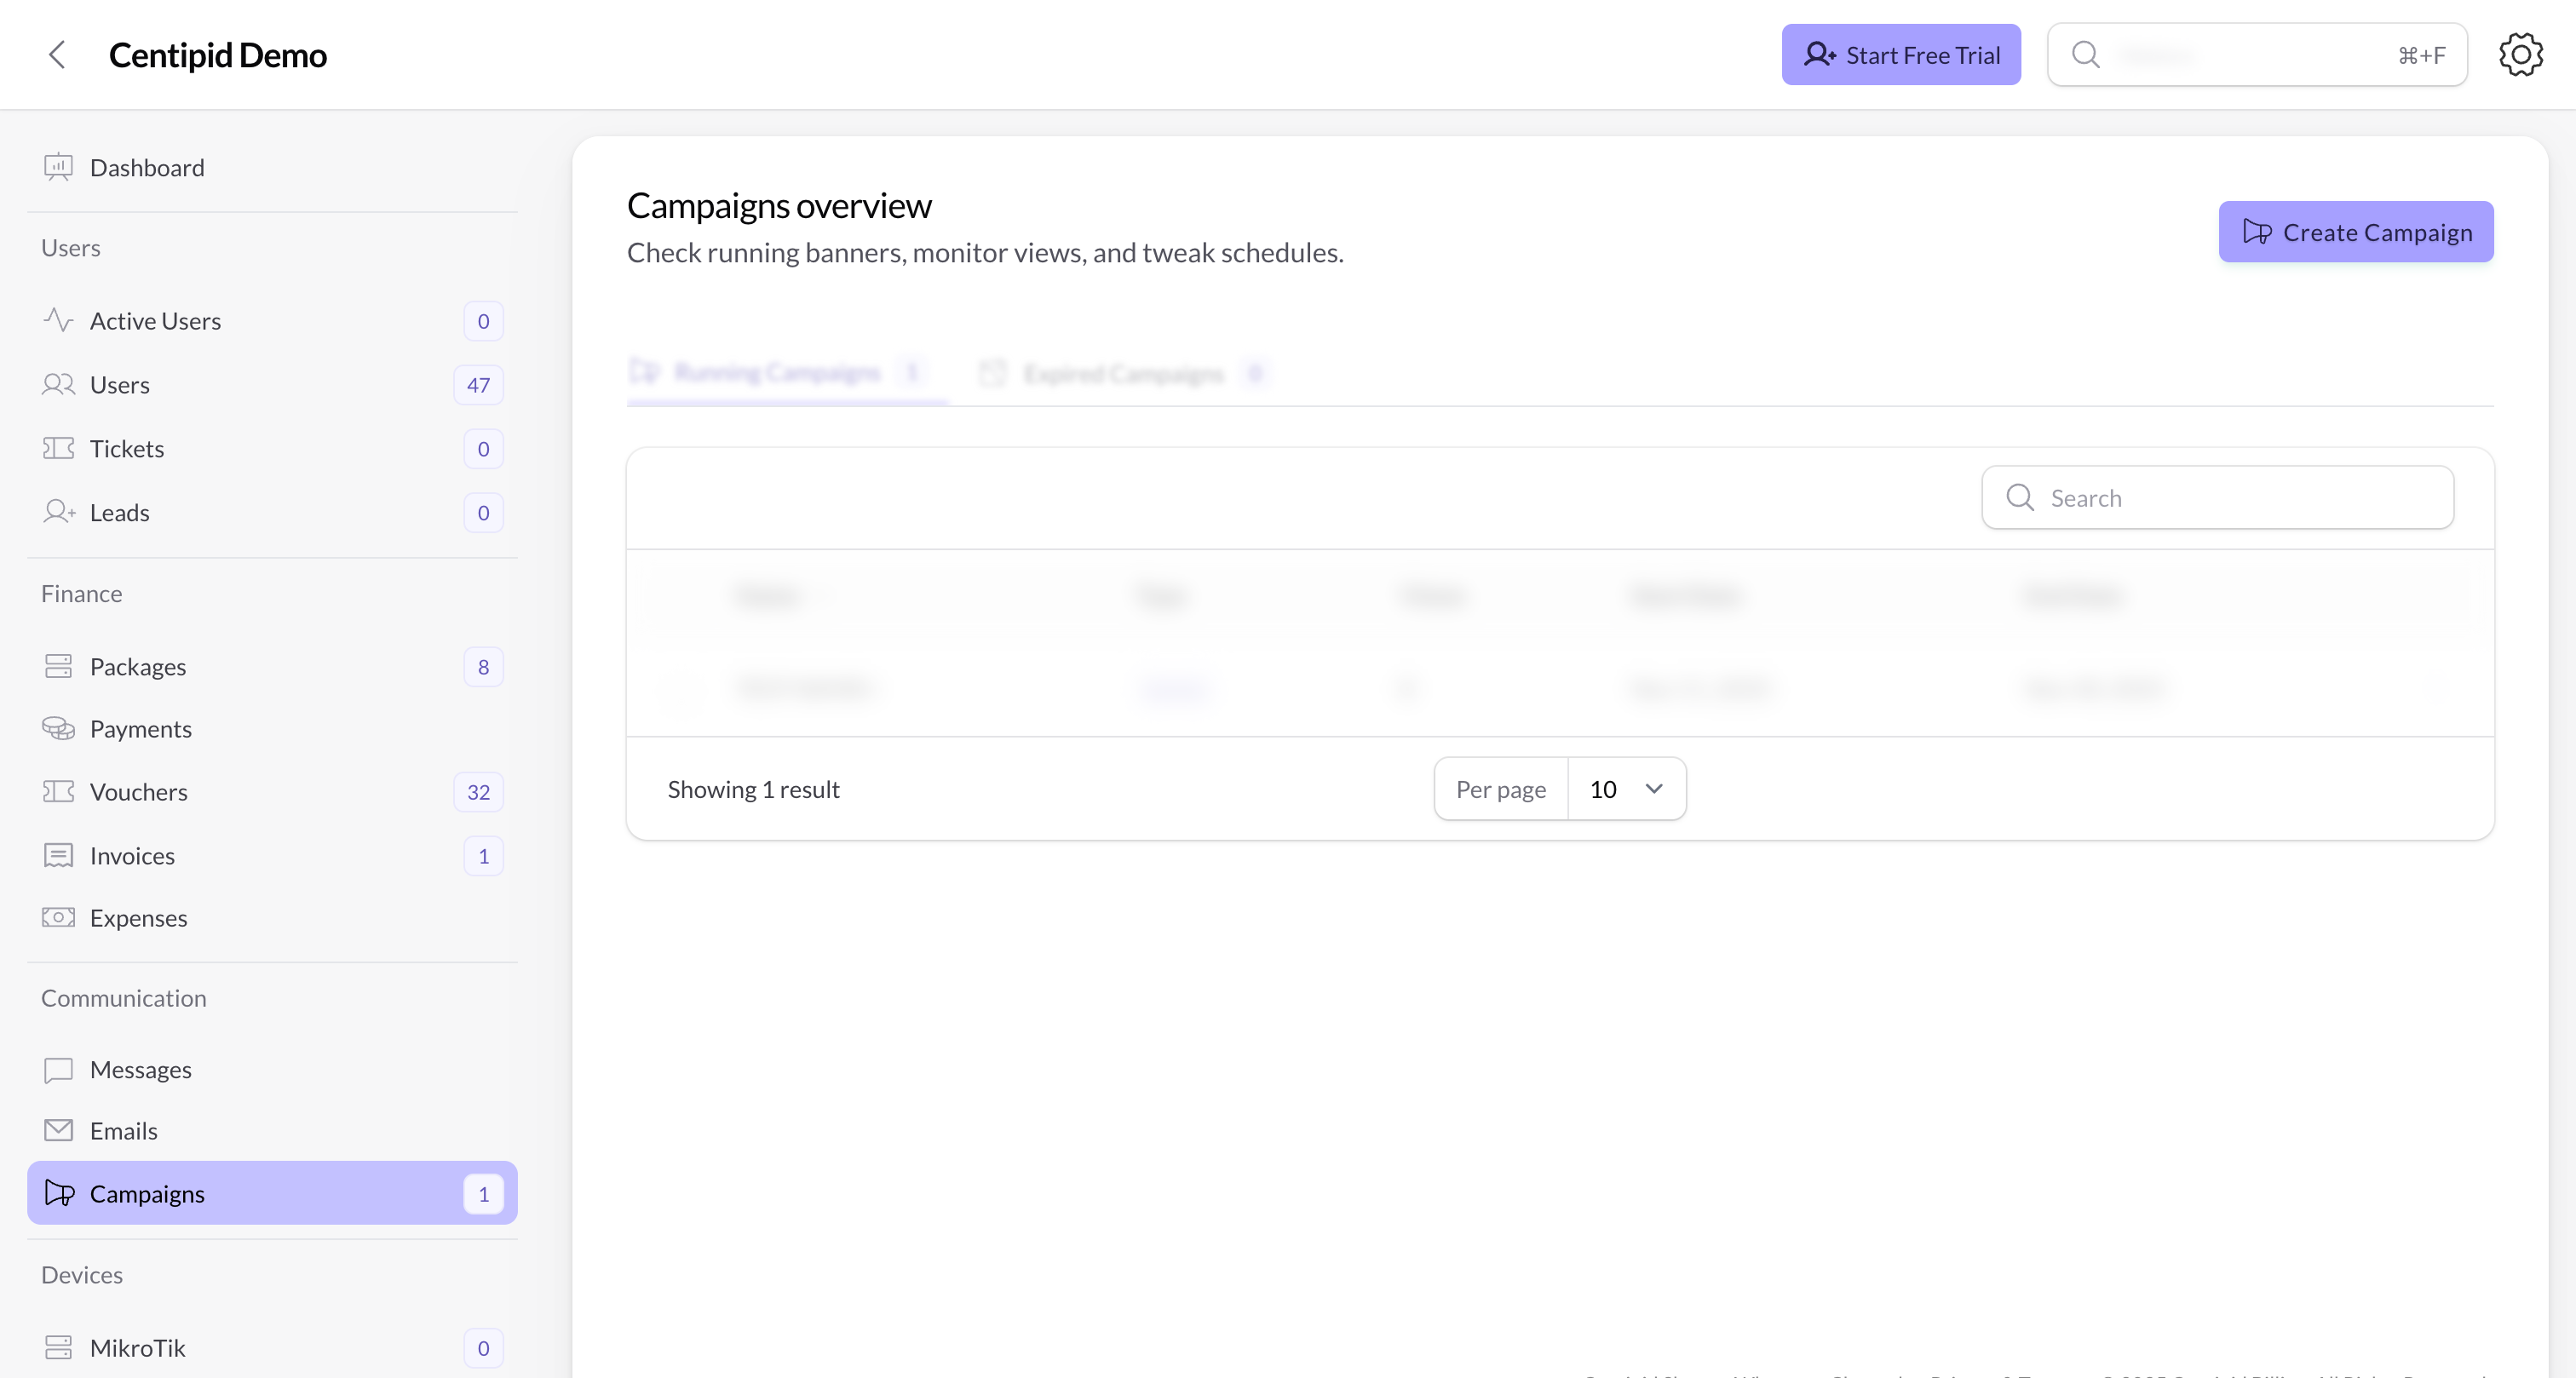
Managing campaigns
Centipid now shows portal campaigns and message campaigns in a single table.- Create Campaign opens one unified form. Start by choosing the Campaign Kind:
- Portal Ad for image, video, or banner placements in the captive portal.
- Message for scheduled SMS or email sends.
- Tabs: Use Active Campaigns and Inactive Campaigns to switch between currently relevant campaigns and finished ones.
- Rows: Every row has a Kind badge so you can quickly tell whether it is a portal ad or a message campaign.
- Columns: The table combines shared data like name, type/channel, schedule, status, delivery counts, and views in one place. Fields that do not apply to a campaign type show as
-.
SMS & Email campaigns
To create a scheduled message campaign:- Go to Communication → Campaigns and click Create Campaign.
- Choose Message under Campaign Kind.
- Choose Channel (SMS or Email).
- Emails require a subject line; both channels support the same merge tags (
@first_name,@package_name,@expiry_at, etc.).
- Emails require a subject line; both channels support the same merge tags (
- Pick the Audience (all users, saved groups/segments, Mikrotiks, or specific users). The grouping options mirror the Create SMS screen so you can re-use your familiar filters.
- Set the Schedule At date/time. Campaigns queue automatically once the scheduled time is reached—no manual follow-up required.
- Track delivery in the same campaigns table using the Targets, Sent, and Failed columns. You can open Details for any message campaign and cancel pending sends before they are processed.
Note: Monthly or yearly recurring cadences are planned for a follow-up release. For now, schedule individual blasts as needed.
Tips
- Match Image Size to your chosen Banner Position (full-width banners use Medium/Large; widgets use Small).
- Set a clear Start/End Date so promotions don’t linger.
- Keep file sizes modest for faster load in client portals (optimize images, keep videos short/compressed).
- For text banners, keep copy concise and action-oriented (e.g., “Renew today and stay online”).