Link a MikroTik (full steps + video)
The same wizard described in the Quickstart guide is available any time you click Link a MikroTik. Watch the walkthrough below, then follow the detailed steps.Start linking a new MikroTik
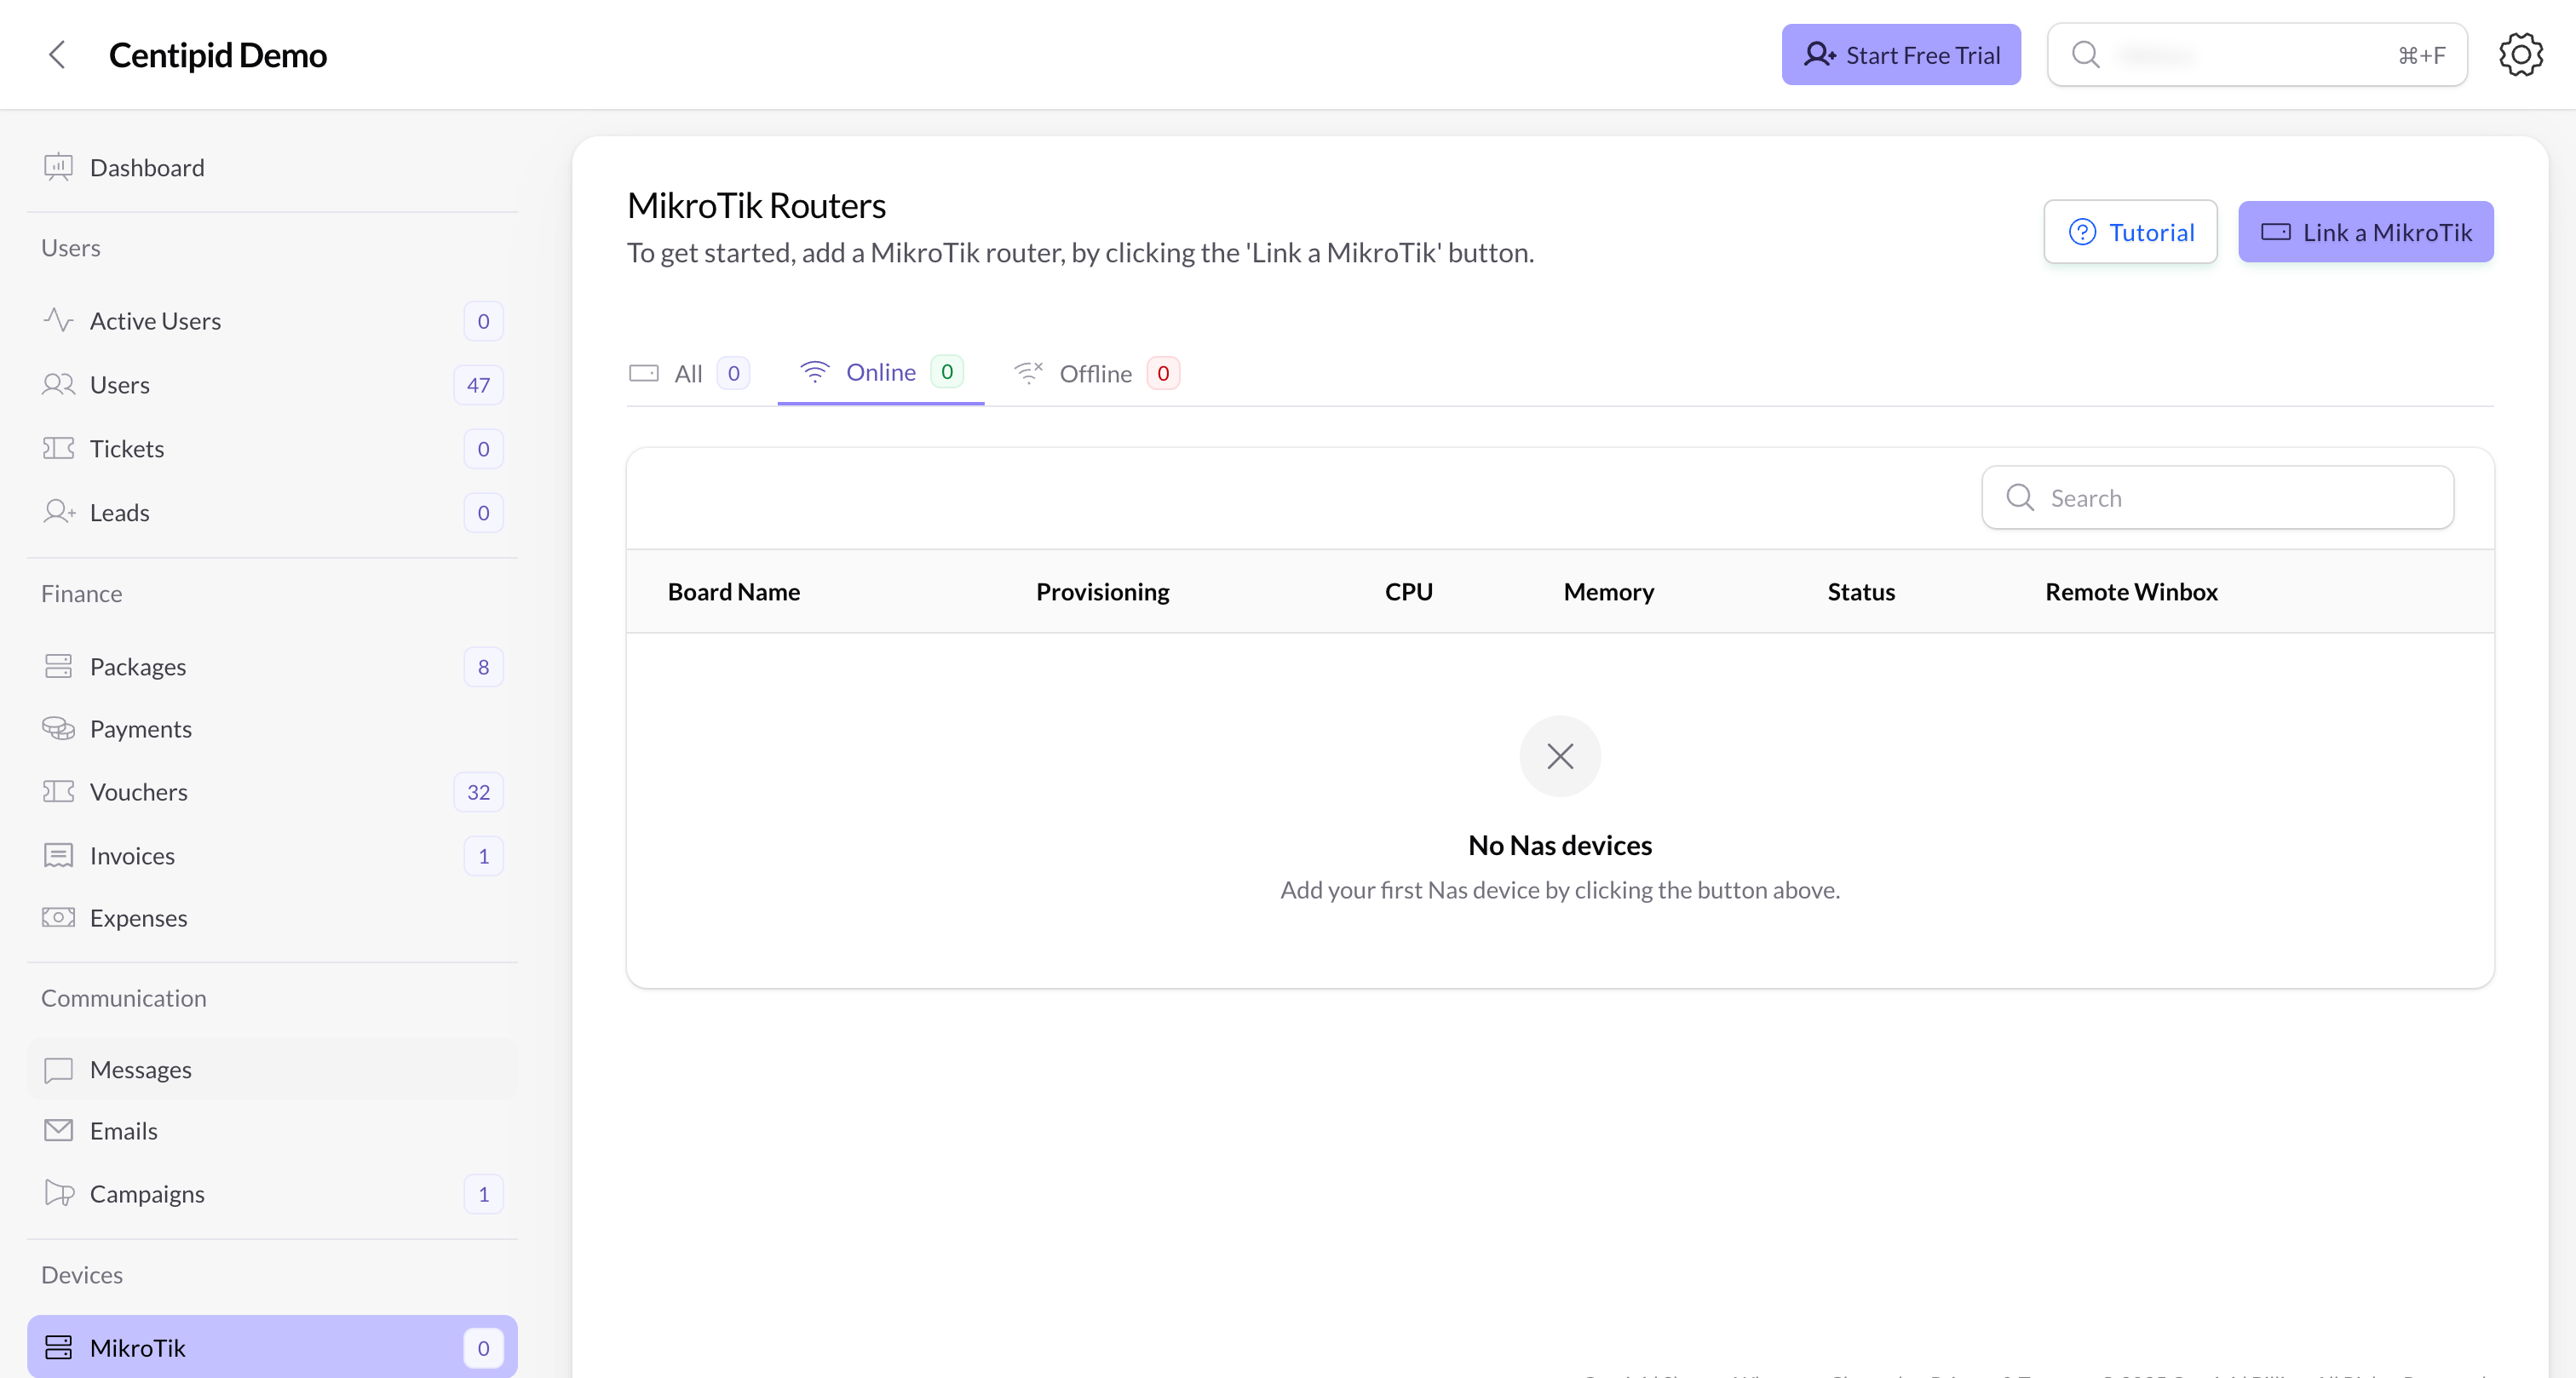
Click Link a MikroTik in the top-right corner.
This opens the Add MikroTik Device wizard with three steps:
This opens the Add MikroTik Device wizard with three steps:
- Connection – basic device information.
- Device Details – provisioning command.
- Service Setup – configure PPPoE and Hotspot.
Step 1 – Connection
On the Connection step:
- Enter a clear MikroTik Identity (for example “Shop-Router-1”).
- Fill the IP/hostname, Winbox credentials, and location notes if you track sites.
Step 2 – Provisioning command
Centipid now shows a green PROVISIONING COMMAND box with a script.
- Click Click to copy to copy the full command.
- Open the MikroTik Terminal on your router and paste the command.
- Wait for the router to download and run the provisioning script.
- In the MikroTik terminal, run:
- Unplug the power for 10 seconds, plug it back in, then run the provisioning command again.
Step 3 – Service setup (most important step)
- Under Service Types, choose whether this router should run PPPoE, Hotspot, or both—this controls what services Centipid deploys.
- Tick every Bridge / Interface that carries subscriber traffic (for example
ether2–ether5,wlan1). Leaving a required port unchecked means customers behind it will never authenticate. - Enable Hotspot Anti-Sharing Protection if you want to prevent customers from sharing hotspot accounts.
- (Optional) Turn on Use Custom Subnet Configuration if you need a custom IP range instead of the default 172.31.0.0/16 pool provided by Centipid.
- Select the Ethernet ports you want added to the bridge.
What the table shows
- Board Name – mirrored from the router identity. Change it in Winbox under System → Identity, or use the Change Identity action inside the router’s View page to rename it directly from Centipid (available to admins or anyone with NAS update permission).
-
Provisioning – badge showing the current step:
Not Started– you have not run the wizard yet.Identity Pending– Centipid is waiting for the router to adopt the identity set in step 1 (usually a few seconds after running the script).Command Pending– the provisioning script has not completed or has not checked in; run the command again in the Mikrotik command line if it stays here.Device Offline– the router is not reachable (power, network, or script failure); reconnect it and re-run the command.Services Pending– the router is online but the PPPoE/Hotspot service setup has not finished (usually means the wizard was closed before step 3 saved).Completed– all provisioning steps succeeded and the router is ready.
- CPU / Memory – real-time stats fetched via our monitoring software. Values turn red above 80% usage; if they stay red for extended periods, plan to upgrade that MikroTik (more RAM/CPU or a higher-tier model) so sessions remain stable.
-
Status –
Online,Offline, orUnknownbased on our monitoring software availability checks. -
Remote Winbox – Centipid’s relay address (
vpn.centipidbilling.com:<port>) so you can launch Winbox without VPNing to the site.
Tip: Device Offline after provisioning usually means the script never finished. Click the badge, re-run the script from the wizard, then wait for the status to flip to Completed.
Automatic notifications
- Centipid watches every MikroTik using the same monitoring feed that powers the CPU/Status columns. When a router goes Offline or comes back Online, it sends SMS/email alerts to the contacts configured under System Settings → Notifications → Mikrotik status notifications.
- If someone deletes a router, Centipid emails a router deletion notice to admins so there is an audit trail. This is in addition to the OTP challenge described below.
Router actions
Each row exposes a dropdown with the tools network engineers use daily:- View – opens the router profile page, where you can see provisioning logs, live monitoring telemetry (CPU, memory, availability), event history, reports (revenue, usage, top consumers), Internet users on that device, payments tied to the NAS, and the built-in Actions menu (Change Identity, Redownload Hotspot Files, Change Captive Portal, etc.).
- Regenerate Winbox – runs a command to issue a fresh remote port.
- Reprovision – reopens the wizard prefilled with the router identity so you can reinstall the provisioning script.
- Sync Hotspot Files – redownloads captive-portal templates to the router.
- Sync Router Time – queues Centipid’s time-sync job. This pushes the correct timezone, NTP servers, and clock settings to the router so expiry dates, vouchers, and schedules fire at the right moment. Run it whenever you notice vouchers & users expiring too early/late or the router clock drifting after power outages.
- Delete – admin-only. The admin must have a valid email address on their user profile because Centipid emails a one-time password (OTP) before deletion can proceed, and it terminates active sessions tied to that router to prevent dangling connections.