Add a new lead
- Click Users → Leads.
- Press Create a new lead.
- Enter the person’s Name, Phone, Email (optional), and Address.
- Save—each lead now appears in the table with a unique row ready for follow-up notes.
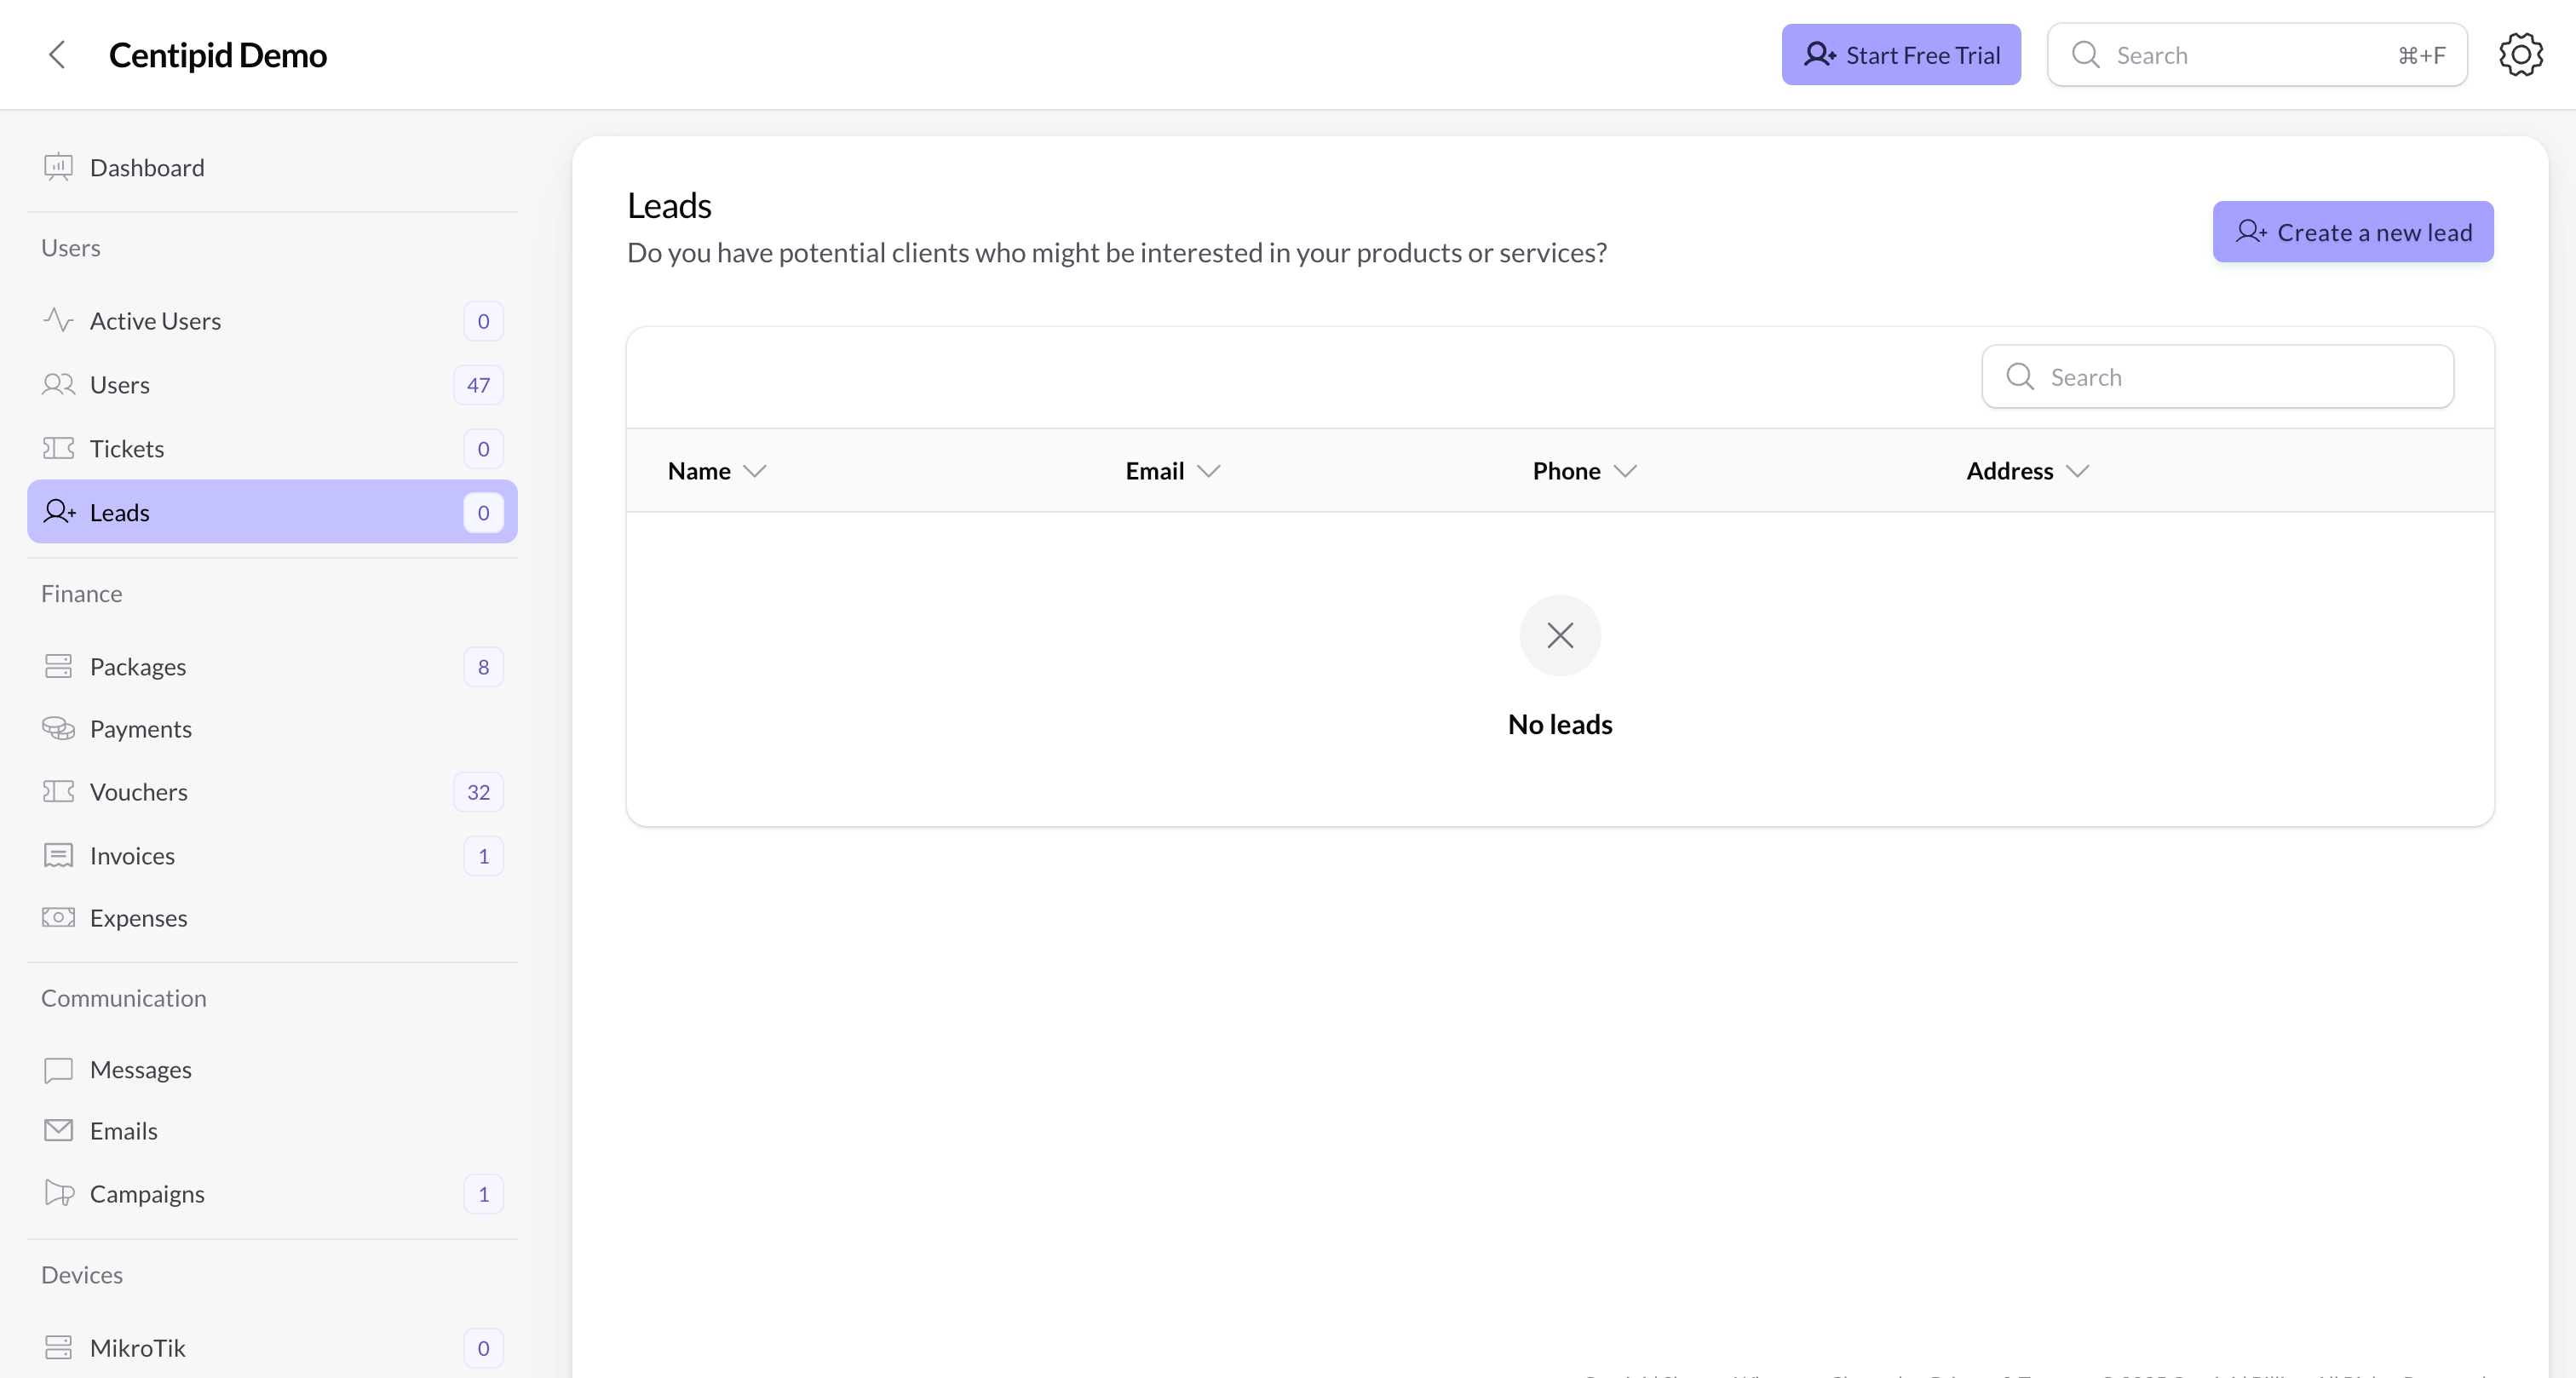
Table overview & actions
- Columns display the lead’s name, email, phone, and address (wrapping long descriptions).
- Use the search bar to filter by any of those fields.
- Row actions include Edit and Delete (the latter requires the
leads.deletepermission).
Convert to a paying client
- Click the Convert to client action on a lead.
- Choose whether they should become a PPPoE or Hotspot user.
- Review the auto-filled username, phone, and email, then set a secure password.
- Select the package profile to assign once they activate.
- Confirm—Centipid creates a full subscriber record and removes the lead from any follow-up lists.
Bulk workflows
- Send SMS – write a message once and Centipid dispatches it to every selected lead via your configured SMS gateway. Perfect for campaign reminders or neighborhood onboarding.
- Export leads – download a CSV for external dialers or sales spreadsheets.
- Delete – clean up stale leads after a campaign ends (requires permission).
Tips
- Keep the address field specific (estate, street, or business). Install teams can then plan surveys without making additional calls.
- Use the Convert to client flow as soon as someone pays; it pre-fills the subscriber form so you do not type details twice.
- Combine this page with Campaigns or Emails modules to run drip marketing—log responses here, then convert when they are ready to install.